Markdown in Rose
Basics for making your Rose Notebooks cleaner and easier to understand.
Headers
Quickly create hierarchical headers in markdown by using "#".
These can be helpful when breaking your Rose Notebook into sections for data triangulation, cleaning, manipulation, visualization and synthesis.
Examples:
# Header
Text Formatting
Here are a few of the most popular ways to customize your text in a Rose Notebook to add organization and emphasis to your work.
| Output | Input |
|---|---|
| bold | **bold** |
| italicized | *italicized* |
| strikethrough | ~~strikethrough~~ |
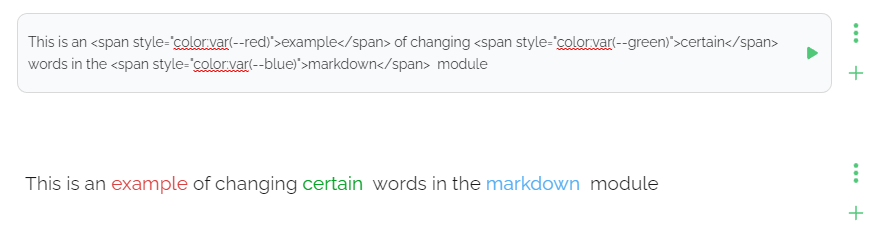
Changing Text Color
When using the Markdown module a user can change the color of a specific word (or words) by enwrapping the specified text in this code:
<span style="color:var(--red)">{text}</span>
Default Colors:
| Var Name | HEX |
|---|---|
| --blue | #53ADF4 |
| --yellow | #E2B923 |
| --red | #D94240 |
| --green | #04A225 |
| --orange | #F56421 |
| --brown | #9F654F |
| --purple | #C31ABC |
| --grey | #A3A3A7 |
Example:
Lists
You can quickly create lists by starting a line with either "-" or "1." and even nest list items using tab to indent your layers.
Unordered Lists
Unordered/ bulleted lists can be created by using "-" on each new line.
Example:
- First item
- Nested item
- Third item
Ordered List
Ordered lists by starting each line with "1.", "2.", etc.
Example:
- First item
- Nested item
- Second item
Links
Use square brackets around the display text and parentheses around the link url.
[DISPLAY TEXT](URL)
Example:
Output:
Input:
[Rose Twitter](https://www.twitter.com/rosedotai)
Images
Adding images is very similar to adding links. Simply add "!" before your square brackets to render an image rather than the link text. You can optionally set a width and height by adding =widthxheight after the image url.

Example:
Output:

Input:

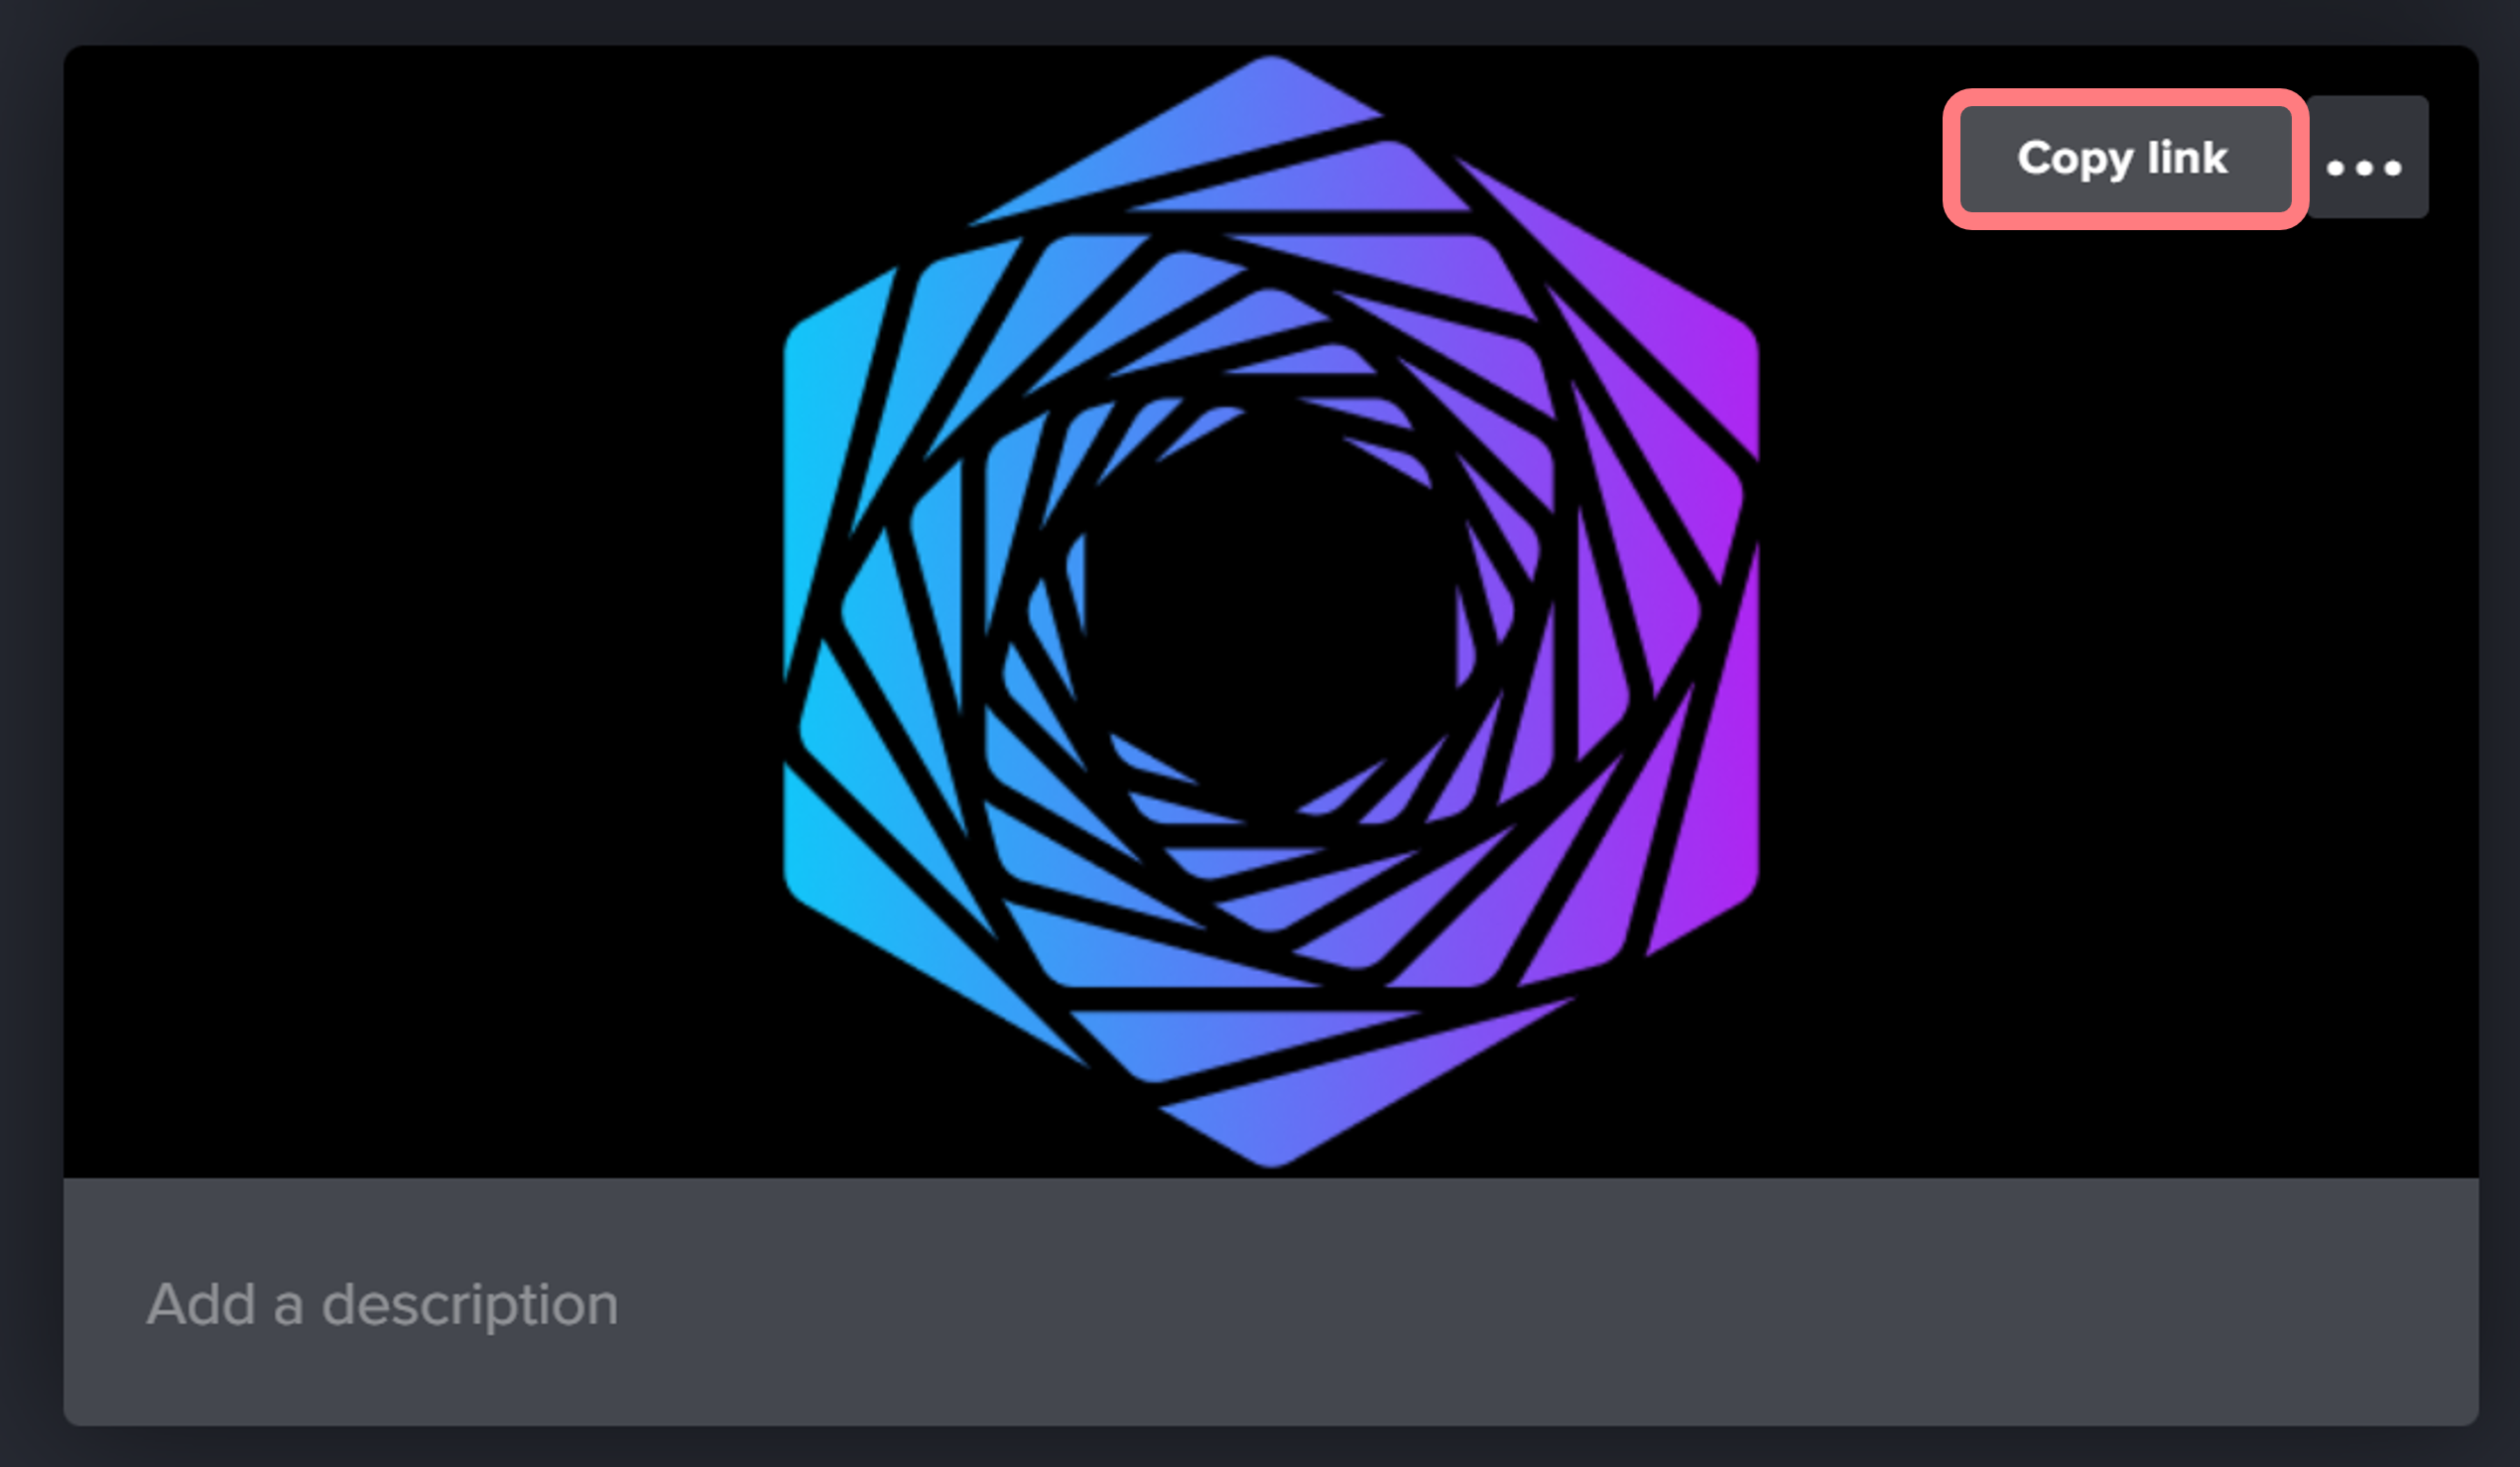
Notes: you need to manually add ".png" after the imgur link. In imgur, make sure to use the "Copy Link" functionality.
Steps for Uploading an Image to Imgur
- Navigate to Imgur
-
Upload an image by following the on-screen instructions

-
After (possibly) viewing an ad, you will be directed to a page with your image. Click "Copy Link" to copy the image url to your clipboard
-
Open a new or existing notebook and add a new markdown module
- In the new markdown module, type in
.- Replacing
my-copied-urlwith the link pasted from imgur.
- Replacing
- Click the Run button or press
shift+enter- Your image should now be visible in your notebook!